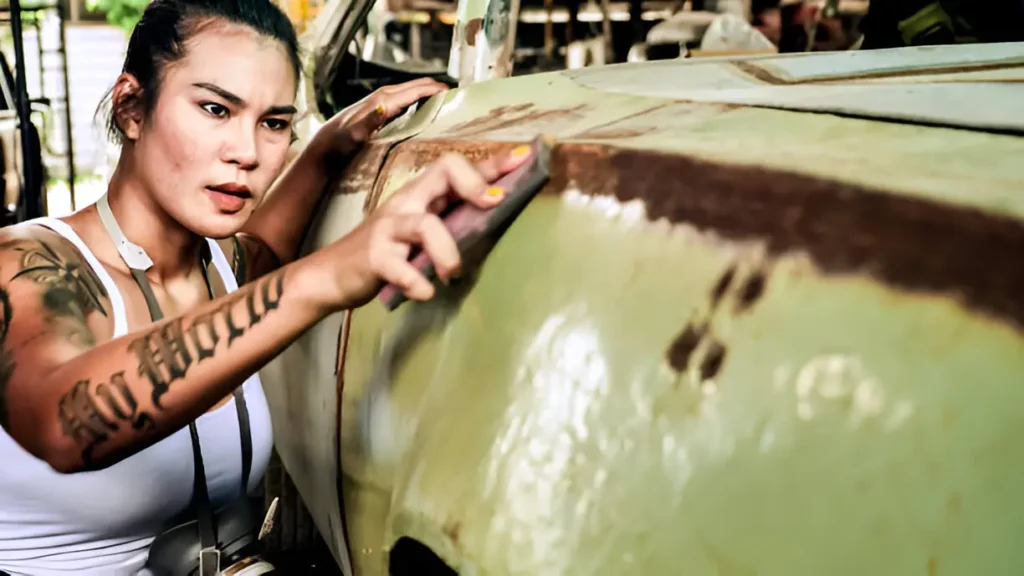
There’s something undeniably captivating about classic cars—the curves, the chrome, the craftsmanship. Whether it’s a 1967 Mustang or a vintage Volkswagen Beetle, restoring a classic car is more than a mechanical endeavor; it’s a passion project that breathes new life into automotive history. But where do you start? And how do you ensure your restoration journey is as rewarding as the final result? Here’s your comprehensive guide to bringing a classic car back to life.
1. Choosing the Right Project Car
The first step in any successful car restoration is picking the right vehicle. While it’s tempting to jump on the first affordable find, take your time. Look for a car with a solid frame and minimal rust—especially if you’re new to restoration. Bodywork can quickly become expensive and time-consuming.
Do your research on make and model availability, parts accessibility, and resale value. Some cars, like classic Camaros or Mustangs, have a wealth of aftermarket support, making them easier to restore. Others may require rare parts and specialized knowledge.
2. Setting a Realistic Budget
Restoration isn’t cheap. Costs can range from a few thousand dollars for basic restorations to tens of thousands for full frame-off rebuilds. Sit down and calculate what you’re willing to spend on parts, tools, labor (if hiring help), and unforeseen expenses. Always leave room in your budget for surprises—because there will be surprises.
Also, consider whether your restoration is for fun, resale, or collection purposes. This can shape how much you’re willing to invest in the process.
3. Planning the Restoration Process
There are generally three types of restorations:
- Driver Restoration: Focuses on making the car safe and reliable for occasional use.
- Street Show Restoration: Includes aesthetic upgrades and detailed work to impress at local car shows.
- Concours Restoration: A painstaking process aimed at bringing the car to like-new factory condition, suitable for high-end competitions.
Map out the scope of your project based on your goals, time availability, and budget. Create a checklist or spreadsheet to track your progress, prioritize tasks, and document the restoration journey.
4. Disassembly and Documentation
Once the plan is in place, start by carefully disassembling the car. Label every part, take photos, and organize components by system (brakes, suspension, electrical, etc.). This documentation is crucial when it comes time to put everything back together. A good restoration is part puzzle-solving and part storytelling—knowing how the pieces fit is key.
Invest in factory service manuals or restoration guides specific to your vehicle. These are invaluable references for specifications, wiring diagrams, and assembly details.
5. Addressing Rust and Structural Issues
Rust is the enemy of classic cars. Even if a car looks solid at first glance, surface rust can hide deeper problems. Inspect the frame, floor pans, rocker panels, and wheel wells thoroughly. Sandblasting, cutting out bad sections, and welding in new metal may be necessary.
Structural integrity should always take priority. You can’t have a safe, roadworthy vehicle without a solid foundation.
6. Engine, Transmission, and Mechanical Restoration
Depending on the condition of the drivetrain, you might be in for anything from a tune-up to a complete rebuild. Engine restoration involves cleaning, inspecting, and possibly replacing internal components like pistons, bearings, and gaskets.
Check the transmission, brakes, suspension, fuel lines, and electrical systems. Upgrading to modern components like disc brakes or electronic ignition is acceptable—even in classic restorations—if it improves safety and reliability.
7. Interior and Exterior Finishing Touches
After completing the mechanical work, it’s time to focus on the cosmetic details that truly bring your restoration to life. Refurbishing or replacing the upholstery, dashboard, and interior trim can dramatically elevate the cabin’s look and feel. Whether you’re aiming for factory-original specifications or a custom modern flair, there are plenty of reproduction and aftermarket options to choose from.
The paint and bodywork phase is often the most costly aspect of restoration, especially if you’re aiming for a flawless, show-quality finish. Whether you choose a period-correct color or a bold, custom paint job, the final paint application is what truly ties the entire restoration together. To preserve that pristine finish, consider applying car paint protection film in Salt Lake. This clear, durable film shields your fresh paint from chips, scratches, and road debris—ensuring your classic stays showroom-sharp for years to come.
A crucial aspect of car restoration is ensuring the vehicle’s exterior looks as pristine as possible. This is where Paint Correction and Restoration Techniques come into play. These methods involve meticulously removing surface imperfections such as scratches, swirl marks, and oxidation, ultimately restoring the car’s original shine and luster. By employing advanced techniques and tools, enthusiasts can achieve a flawless finish that not only enhances the vehicle’s aesthetic appeal but also preserves its value. Whether you’re working on a vintage classic or a more recent model, mastering these techniques is essential for any successful restoration project.
8. Reassembly and Testing
Now comes the rewarding part—putting it all back together. Carefully reinstall the restored or new parts, referencing your photos and notes. Be patient and precise. Once assembled, test the systems thoroughly—brakes, lights, engine function—before taking it on the road.
9. Show It Off
You’ve earned it. Once your classic car is restored, take it to local meets, classic car shows, or just cruise the open road. Document your project online to inspire others and join the vibrant community of car restoration enthusiasts.
Final Thoughts
Restoring a classic car isn’t just about fixing an old vehicle—it’s about reviving a piece of history and making it your own. It requires time, money, and a whole lot of patience, but the end result is more than worth it. Whether you’re doing it for nostalgia, investment, or pure love of the craft, bringing a classic back to life is one of the most satisfying journeys you can take.
Also Read-What Every Car Accident Victim Should Know About Filing a Claim


